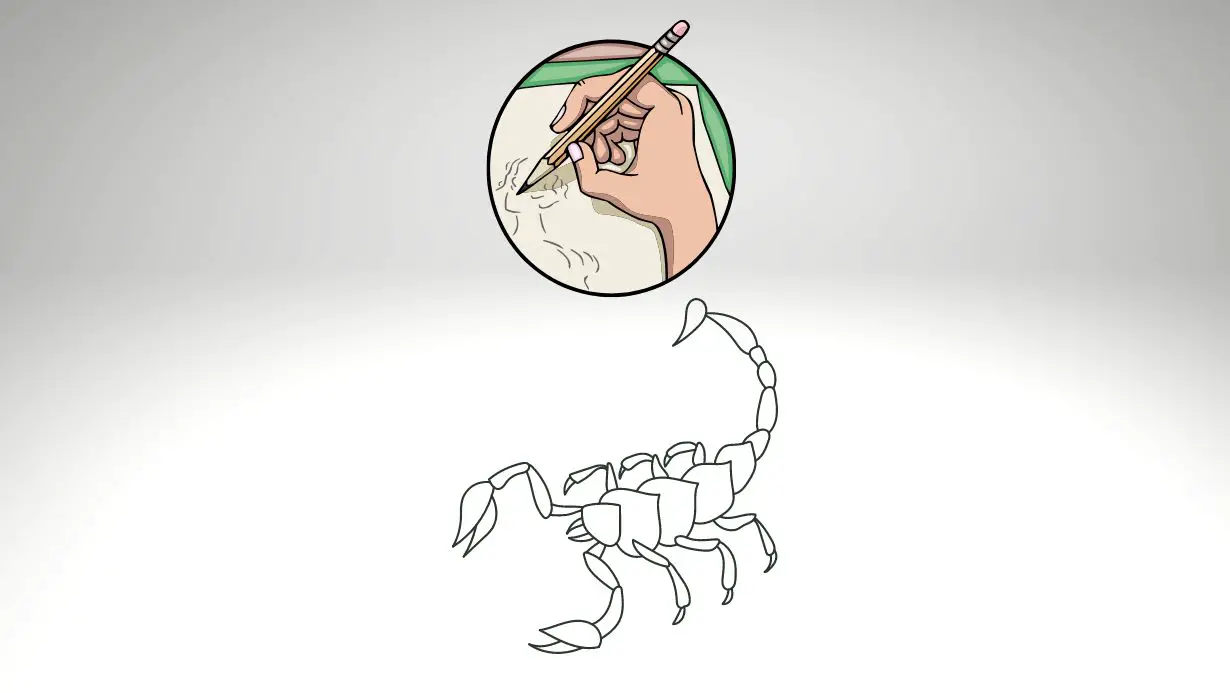
Want to know how to draw a scorpion? This blog post will show you how in easy steps! Scorpions are one of the most popular insects to draw, and for good reason. They’re unique, they’re cool, and they can be drawn in a variety of ways. In this blog post, we’ll show you how to draw a scorpion in easy steps. You’ll start by drawing the basic shapes of the scorpion’s body, then add details like its claws, tail, and stinger. By the end of this blog post, you’ll have a cool scorpion drawing that you can be proud of!
What You Will Need
In order to draw a scorpion, you will need the following supplies:
-A piece of paper
-A pencil
-An eraser
-A black pen or marker
Optional:
-Colored pencils or markers
-A ruler
Follow the easy steps below to learn how to draw a scorpion!
Step One: Draw The Head
To draw a scorpion, start by drawing the head. For the head, start with a small oval shape. Then, add two curved lines for the mandibles. Next, draw two large oval shapes for the eyes. Finally, add some lines inside the oval shapes to give them detail.
Step Two: Draw The Pincers
Assuming you want to continue from the previous step, you will now need to draw the pincers. For the left pincer, extend a curved line from the bottom of the main oval. This line should be similar in shape to a question mark. Then, double back and enclose the shape by drawing a second curved line. The right pincer can be created by drawing a mirror image of the left pincer. Finally, add some detail to each pincer by drawing a series of short lines along the outer edge.
Step Three: Draw The Body
To draw the body of the scorpion, start by drawing a curved line at the bottom of the head for the back. Then, add two curved lines coming down from either side of the back to form the sides of the abdomen. Next, draw a curved line across the bottom of the abdomen to connect the sides. Finally, add a curved line at the top center of the abdomen for the stinger.
Step Four: Draw The Legs
Assuming you already have the body and pincers of your scorpion drawn (per steps one and two), it’s now time to add its legs. There are ten legs on a scorpion, so take your time and be precise as you draw them out. Start with the front legs near the head, then move to the back legs near the tail. Keep in mind that the front legs are shorter than the back legs.
When drawing the legs, make sure they’re all facing the same direction. Each leg should have five segments: the coxa, trochanter, femur, patella, and tibia. The first segment (the coxa) is attached to the body, while the last segment (the tibia) ends at a sharp point. In between these segments are four joints that allow the leg to bend.
Once you have all ten legs drawn, go over them with a dark pen or marker to give your scorpion some definition. And that’s it! You’ve now learned how to draw a scorpion in easy steps.
Conclusion
We hope you enjoyed our tutorial on how to draw a scorpion in easy steps. If you found this guide helpful, be sure to share it with your friends and family so they can try their hand at drawing one of these amazing creatures too. Don’t forget to tag us in your finished drawings on social media using the hashtag #HowToDrawAScorpion!